SEO Website Migration Checklist: Step-by-Step Guide
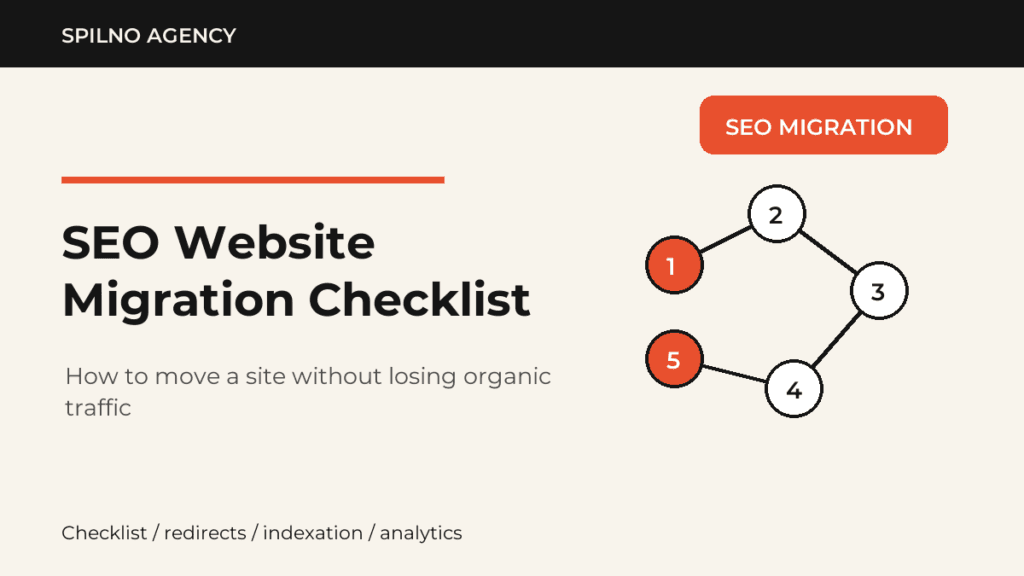
Website migration is one of the riskiest processes for SEO. Even a minor technical mistake can cost you 30–70% of organic traffic. This guide walks you through every stage — from pre-migration preparation to post-migration monitoring.
What is SEO migration and when do you need it
SEO migration is a controlled process of moving a website while preserving accumulated organic signals: rankings, link equity, and indexation. You need it when:
- Changing domain (e.g. old-site.com → new-site.com)
- Moving from HTTP to HTTPS
- Switching CMS (WordPress → Shopify, OpenCart → WooCommerce)
- Redesign that changes URL structure
- Merging or splitting websites
- Changing language structure or target region
The golden rule: any of these actions without SEO preparation guarantees a traffic drop.
Step 1. Collect baseline data (before migration starts)
Before changing anything — record the current state of your site. This is your benchmark for post-migration comparison.
What to collect:
- Organic traffic — go to Google Analytics 4 → Acquisition → Organic Search. Save a report for the last 3 months.
- Keyword rankings — export from Google Search Console the list of queries and positions (at least top-50 pages).
- URL list — full site crawl via Screaming Frog or Sitebulb. Save all URLs with status 200.
- Backlinks — export from Ahrefs or GSC the full list of external links with anchors and referring pages.
- Technical metrics — Core Web Vitals, page speed (PageSpeed Insights), current robots.txt and sitemap.xml.
📋 Checklist:
- GA4 traffic report saved (PDF or spreadsheet)
- GSC ranking list exported
- CSV with all site URLs
- Backlinks list (Ahrefs / GSC)
- PageSpeed report screenshot or PDF
Step 2. Redirect map
Every old URL that had traffic or external links must receive a 301 redirect to the new relevant page. This is the most critical element of migration.
How to build a redirect map:
- Open the CSV with old URLs (from Step 1).
- For each URL, specify the corresponding new address.
- If a page is being removed with no replacement — redirect to the nearest topical page or homepage.
- Maintain the table in the format: old URL | new URL | status (301/410)
Rules:
- Only 301 (permanent) — not 302, not meta refresh.
- Avoid redirect chains: A→B→C should be A→C.
- Don’t redirect the entire site to the homepage — Google treats this as a soft 404.
- Pages that no longer exist with no replacement — return 410 Gone.
📋 Checklist:
- Redirect table complete for all pages with traffic
- No redirect chains
- 301s configured on the new server (or via .htaccess / nginx)
- Redirects verified via httpstatus.io or Screaming Frog
Step 3. Technical SEO audit of the new site
Before public launch, the new site must be technically ready. Check everything on a staging environment.
What to check:
- robots.txt — confirm production does NOT have Disallow: /. This is the most common cause of losing indexation after migration.
- Sitemap.xml — updated, contains new URLs, does not contain old ones. Submit to GSC → Sitemaps.
- Canonical tags — every page points to itself. No incorrect canonicals pointing to the old domain.
- Title and meta description — migrated or improved. No duplicates.
- Hreflang — if multilingual: tags are correctly set for all languages and regions.
- Speed and Core Web Vitals — check via PageSpeed Insights. LCP below 2.5s, CLS below 0.1, INP below 200ms.
- HTTPS — certificate installed, all internal links use https://, no mixed content.
- Structured data — Schema.org markup migrated and valid (check via Google Rich Results Test).
📋 Checklist:
- robots.txt allows indexation
- Sitemap updated and submitted to GSC
- Canonical tags without errors
- Title and meta description on every page
- Hreflang (if multilingual)
- Core Web Vitals within limits
- HTTPS without mixed content
- Structured data valid
Step 4. Content migration
Content is one of the main SEO signals. You cannot just copy it as-is — you need to verify all elements are preserved.
What to check for each important page:
- Text content — fully migrated, nothing cut. Do not shorten texts during migration.
- H1–H6 headings — hierarchy preserved, H1 exists and is unique.
- Images — uploaded to the new server (not linked from the old one), alt texts preserved.
- Internal links — updated to new URLs (not pointing to old domain or 404).
- Publication date — preserved or updated correctly (do not set today’s date on old content).
📋 Checklist:
- All content migrated without loss
- H1 present on every page
- Image alt texts preserved
- Internal links point to new URLs
- Images hosted on the new server
Step 5. Launch and first 48 hours
The DNS switch moment is the most critical. Follow a clear action plan.
Launch sequence:
- Lower DNS TTL to 300 seconds 24 hours before migration — so the switch happens fast.
- Launch the new site during off-hours (night, weekend) — fewer users will be affected by downtime.
- Immediately after switching — check site availability via downdetector or uptimerobot.
- Run a crawl via Screaming Frog to detect 404s and redirect errors.
- In GSC — submit key page URLs for indexation via URL Inspection.
- Confirm that GA4 and GSC are receiving data (tracking not broken).
📋 Launch checklist:
- DNS TTL lowered in advance
- Launch during off-hours
- Site accessible after switch
- Crawl shows 0 critical errors
- GSC receiving data
- GA4 recording sessions
Step 6. Post-migration monitoring (30–90 days)
Even a perfect migration requires monitoring. Traffic may temporarily dip — that is normal. But you need to distinguish temporary turbulence from real problems.
What to monitor and when:
| Metric | Tool | Frequency |
|---|---|---|
| Organic traffic | GA4 | Daily (first 2 weeks) |
| Keyword rankings | GSC / Ahrefs | Weekly |
| Indexation errors | GSC → Coverage | Weekly |
| 404 errors | Screaming Frog / GSC | Daily (first week) |
| Core Web Vitals | GSC → Core Web Vitals | Every 2 weeks |
| Backlinks | Ahrefs / GSC | Monthly |
Normal traffic stabilization timelines:
- Small sites (up to 100 pages) — 2–4 weeks
- Medium sites (100–1,000 pages) — 4–8 weeks
- Large catalogs (1,000+ pages) — 2–4 months
If after 3 months traffic has not recovered to 80% of the previous level — look for a technical issue: most often incorrect canonicals or an incomplete redirect map.
Critical mistakes that destroy traffic after migration
- robots.txt blocking production — the site drops out of the index entirely. Check immediately after launch.
- Missing redirects — Google and Bing forget pages without 301s. Link equity is lost.
- Canonical pointing to old domain — the new site will never rank if canonical points to the old one.
- Lost content — even one important page without a redirect means losing its rankings permanently (without re-doing the work).
- Changing URLs without redirects at the same time as a redesign — a double blow to SEO. Make changes in separate steps.
- Removing structured data — losing rich snippets in search = CTR drop of 20–40%.
Tools for SEO migration
| Task | Free tool | Paid tool |
|---|---|---|
| Site crawling | Screaming Frog (up to 500 URLs) | Screaming Frog Pro, Sitebulb |
| Rankings and traffic | Google Search Console | Ahrefs, Semrush |
| Traffic analytics | GA4 | — |
| Redirect check | httpstatus.io | Screaming Frog |
| Structured data | Google Rich Results Test | — |
| Page speed | PageSpeed Insights | WebPageTest |
| Backlinks | GSC | Ahrefs, Majestic |
Summary: complete SEO migration checklist
Before migration:
- Baseline data collected (traffic, rankings, URLs, backlinks)
- Redirect map built
- Technical audit of new site on staging
- Content verified on all key pages
During migration:
- DNS TTL lowered
- Launch during off-hours
- Immediate availability check and crawl
After migration (30 days):
- Daily traffic monitoring
- 404 and indexation error checks
- Weekly ranking tracking
- Core Web Vitals analysis
Migration is not a one-time action — it is a process that requires planning and control. Following this checklist allows you to preserve 90–100% of organic traffic even through radical site changes.
Read also
How to Read the User Loyalty Report in Google Analytics 4
The User Loyalty report in Google Analytics 4 shows stickiness — how often your audience comes back to…
How to Grant Access to a Prom.ua Account in 2026
To grant access to your Prom.ua account, open “Settings” → “Managers”, click “Add a manager”, choose a role…
How to Grant Access to a Wix Site in 2026
To grant access to a Wix site, open the “Sites” dashboard, click “…” on the card of the…