How to Grant Access to a Webflow Site in 2026

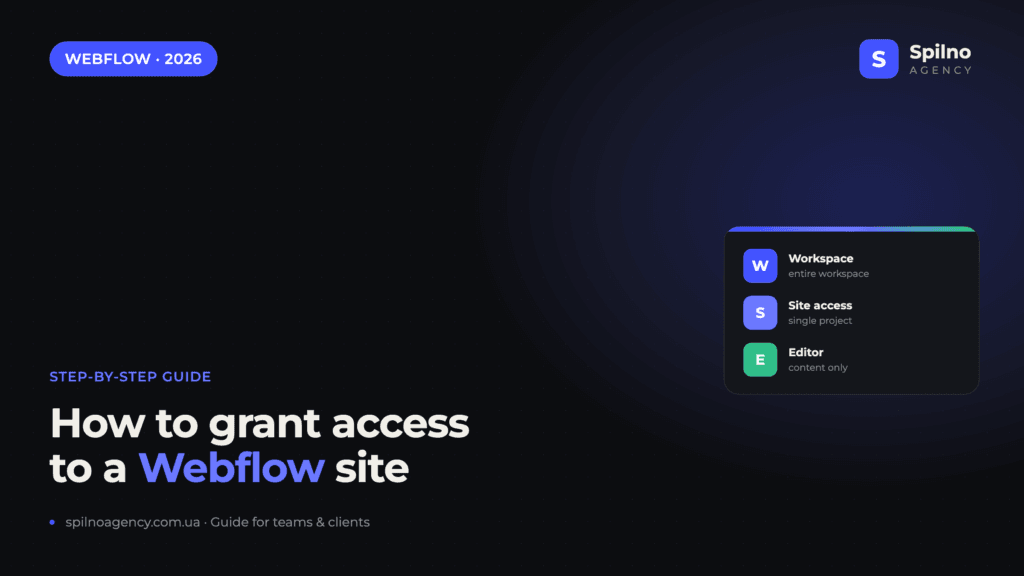
To grant access to a Webflow site, open Workspace settings → Members, click Invite people, enter an email and choose a role (Admin, Designer or Editor). For a single project you share site-level guest access; for a non-technical client you give Editor access (text and image edits only); and to change ownership entirely you transfer the site to another account. Below is every method, step by step.
Levels of access in Webflow
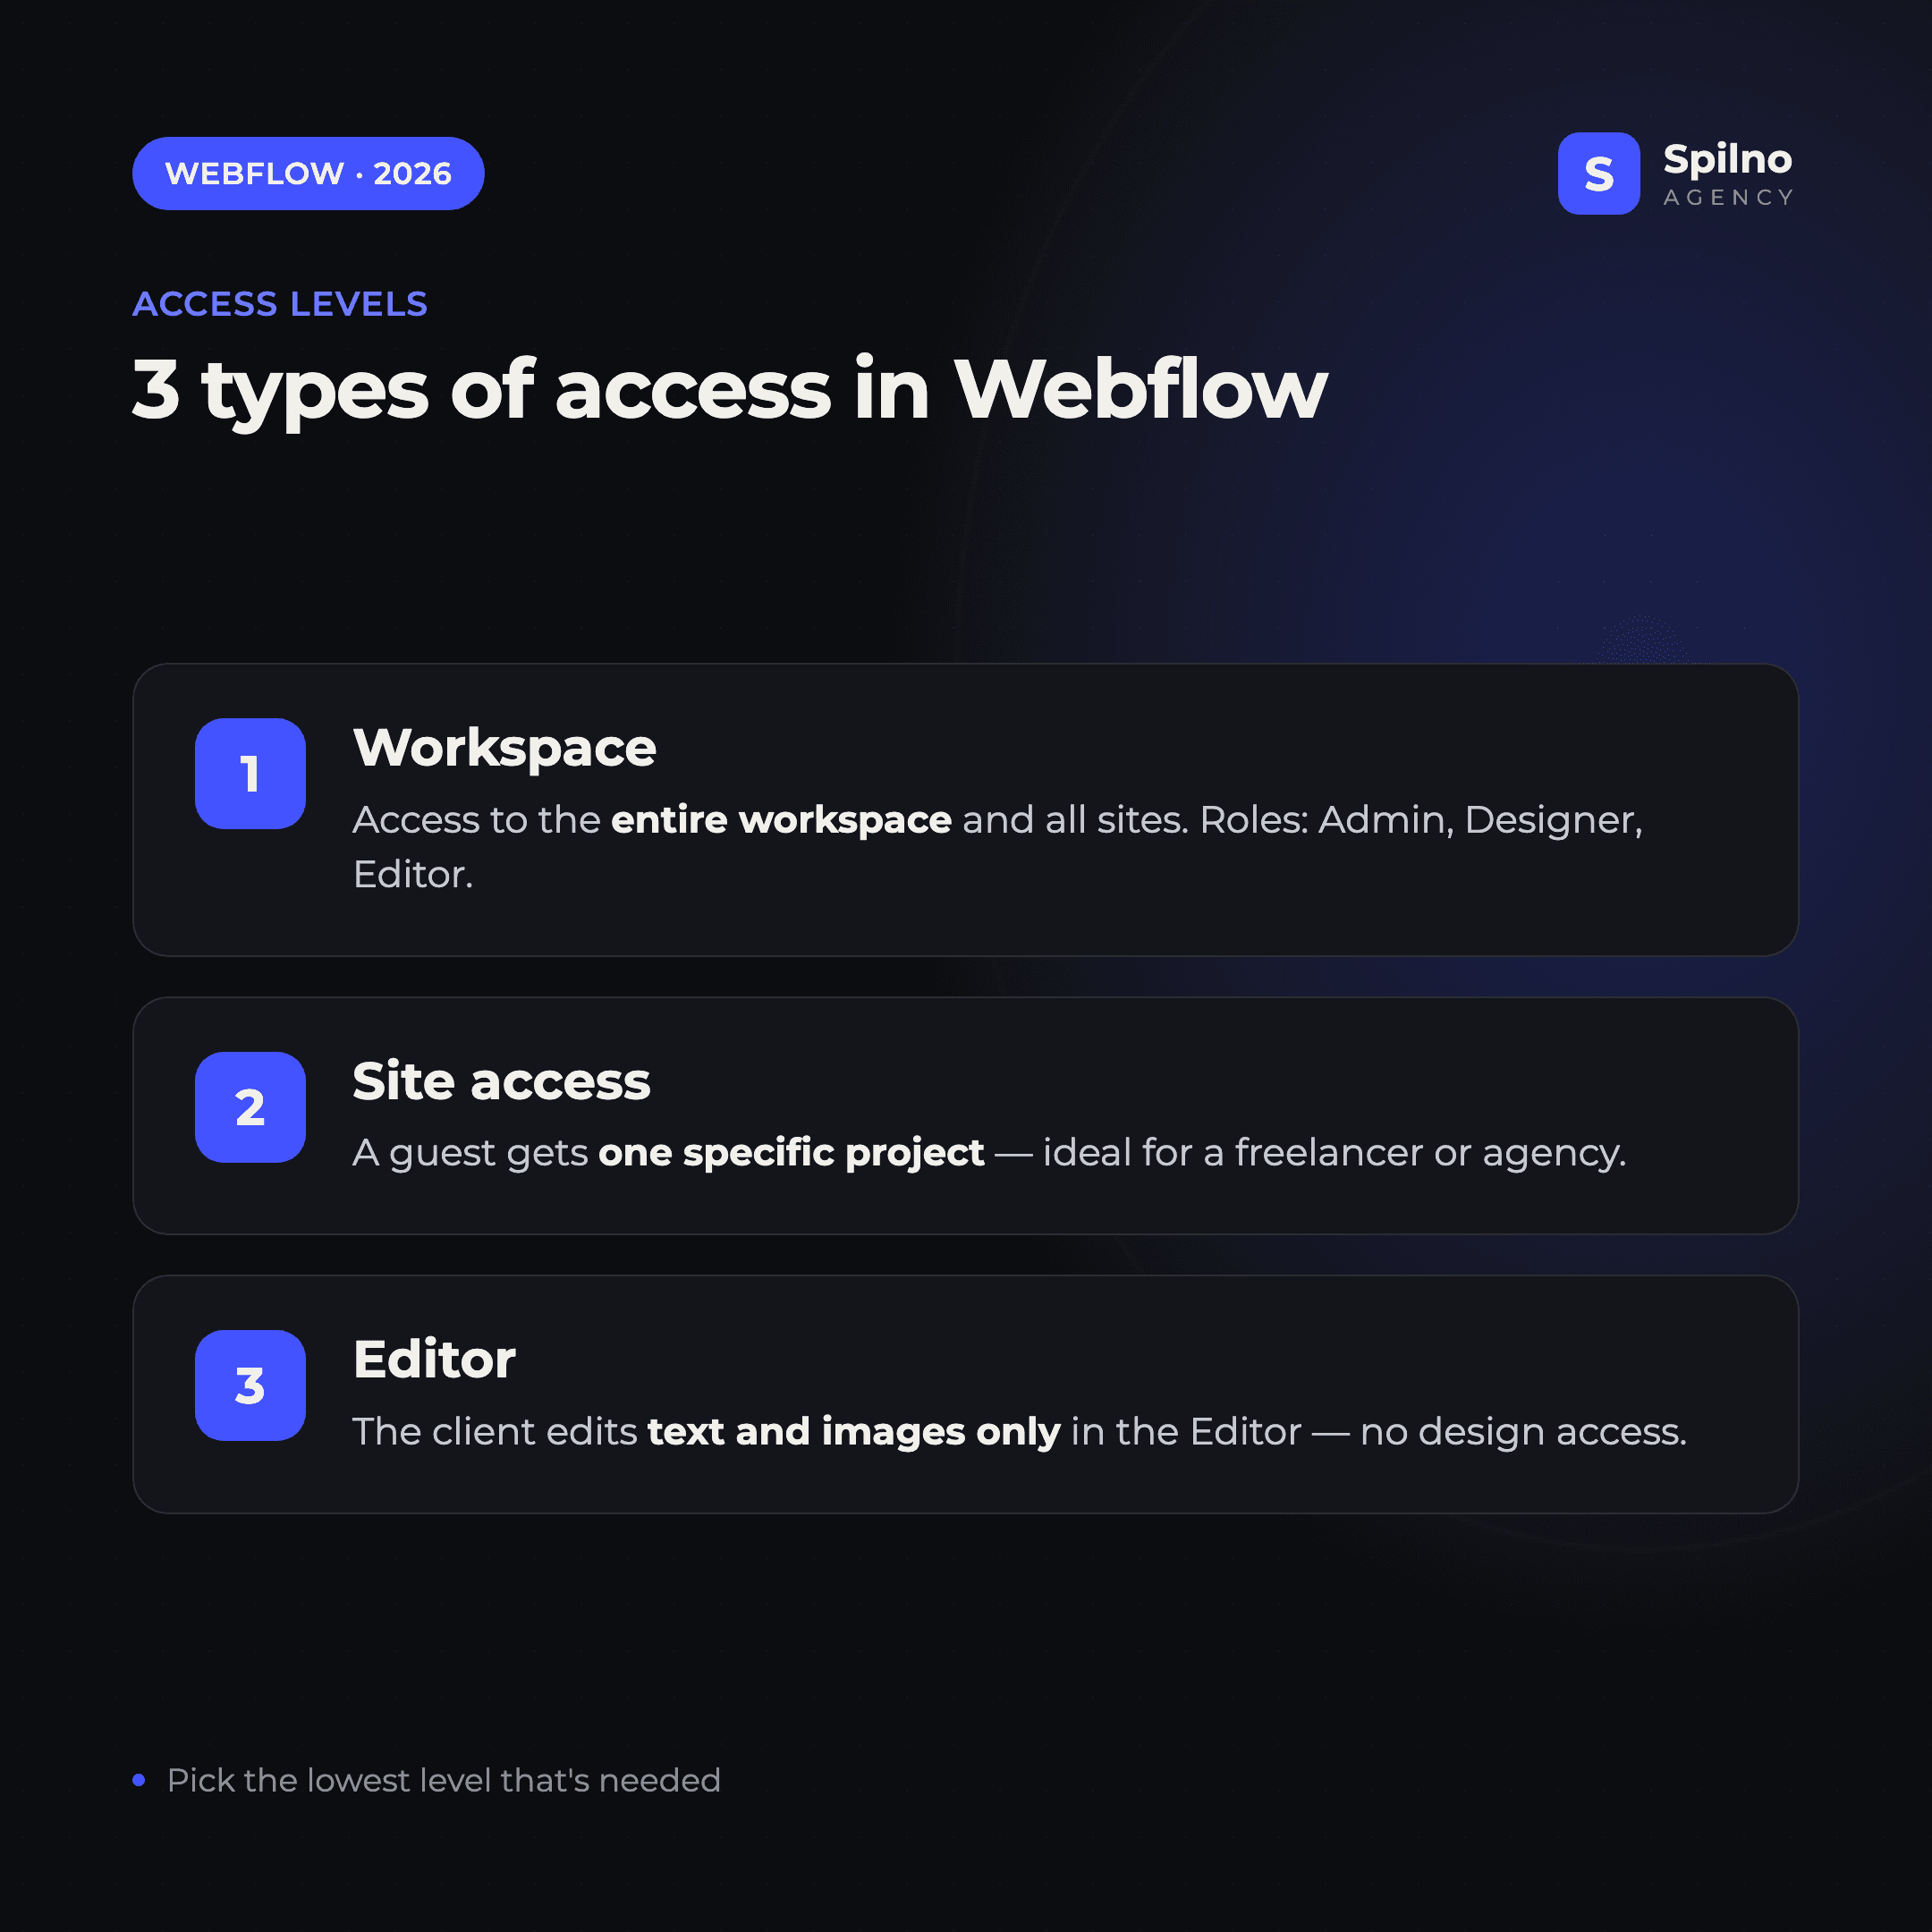
Webflow splits access into three levels. Knowing the difference saves time and protects your project: you give a person exactly as many rights as their task needs — no more.
- Workspace — access to the entire workspace and every site inside it. Best for team members and contractors working across several projects.
- Site access (guest) — the person sees and edits one specific project only. Ideal for a freelancer or agency that doesn’t need your other sites.
- Editor — the client edits text and images only on the live site, with no access to design, structure or settings.
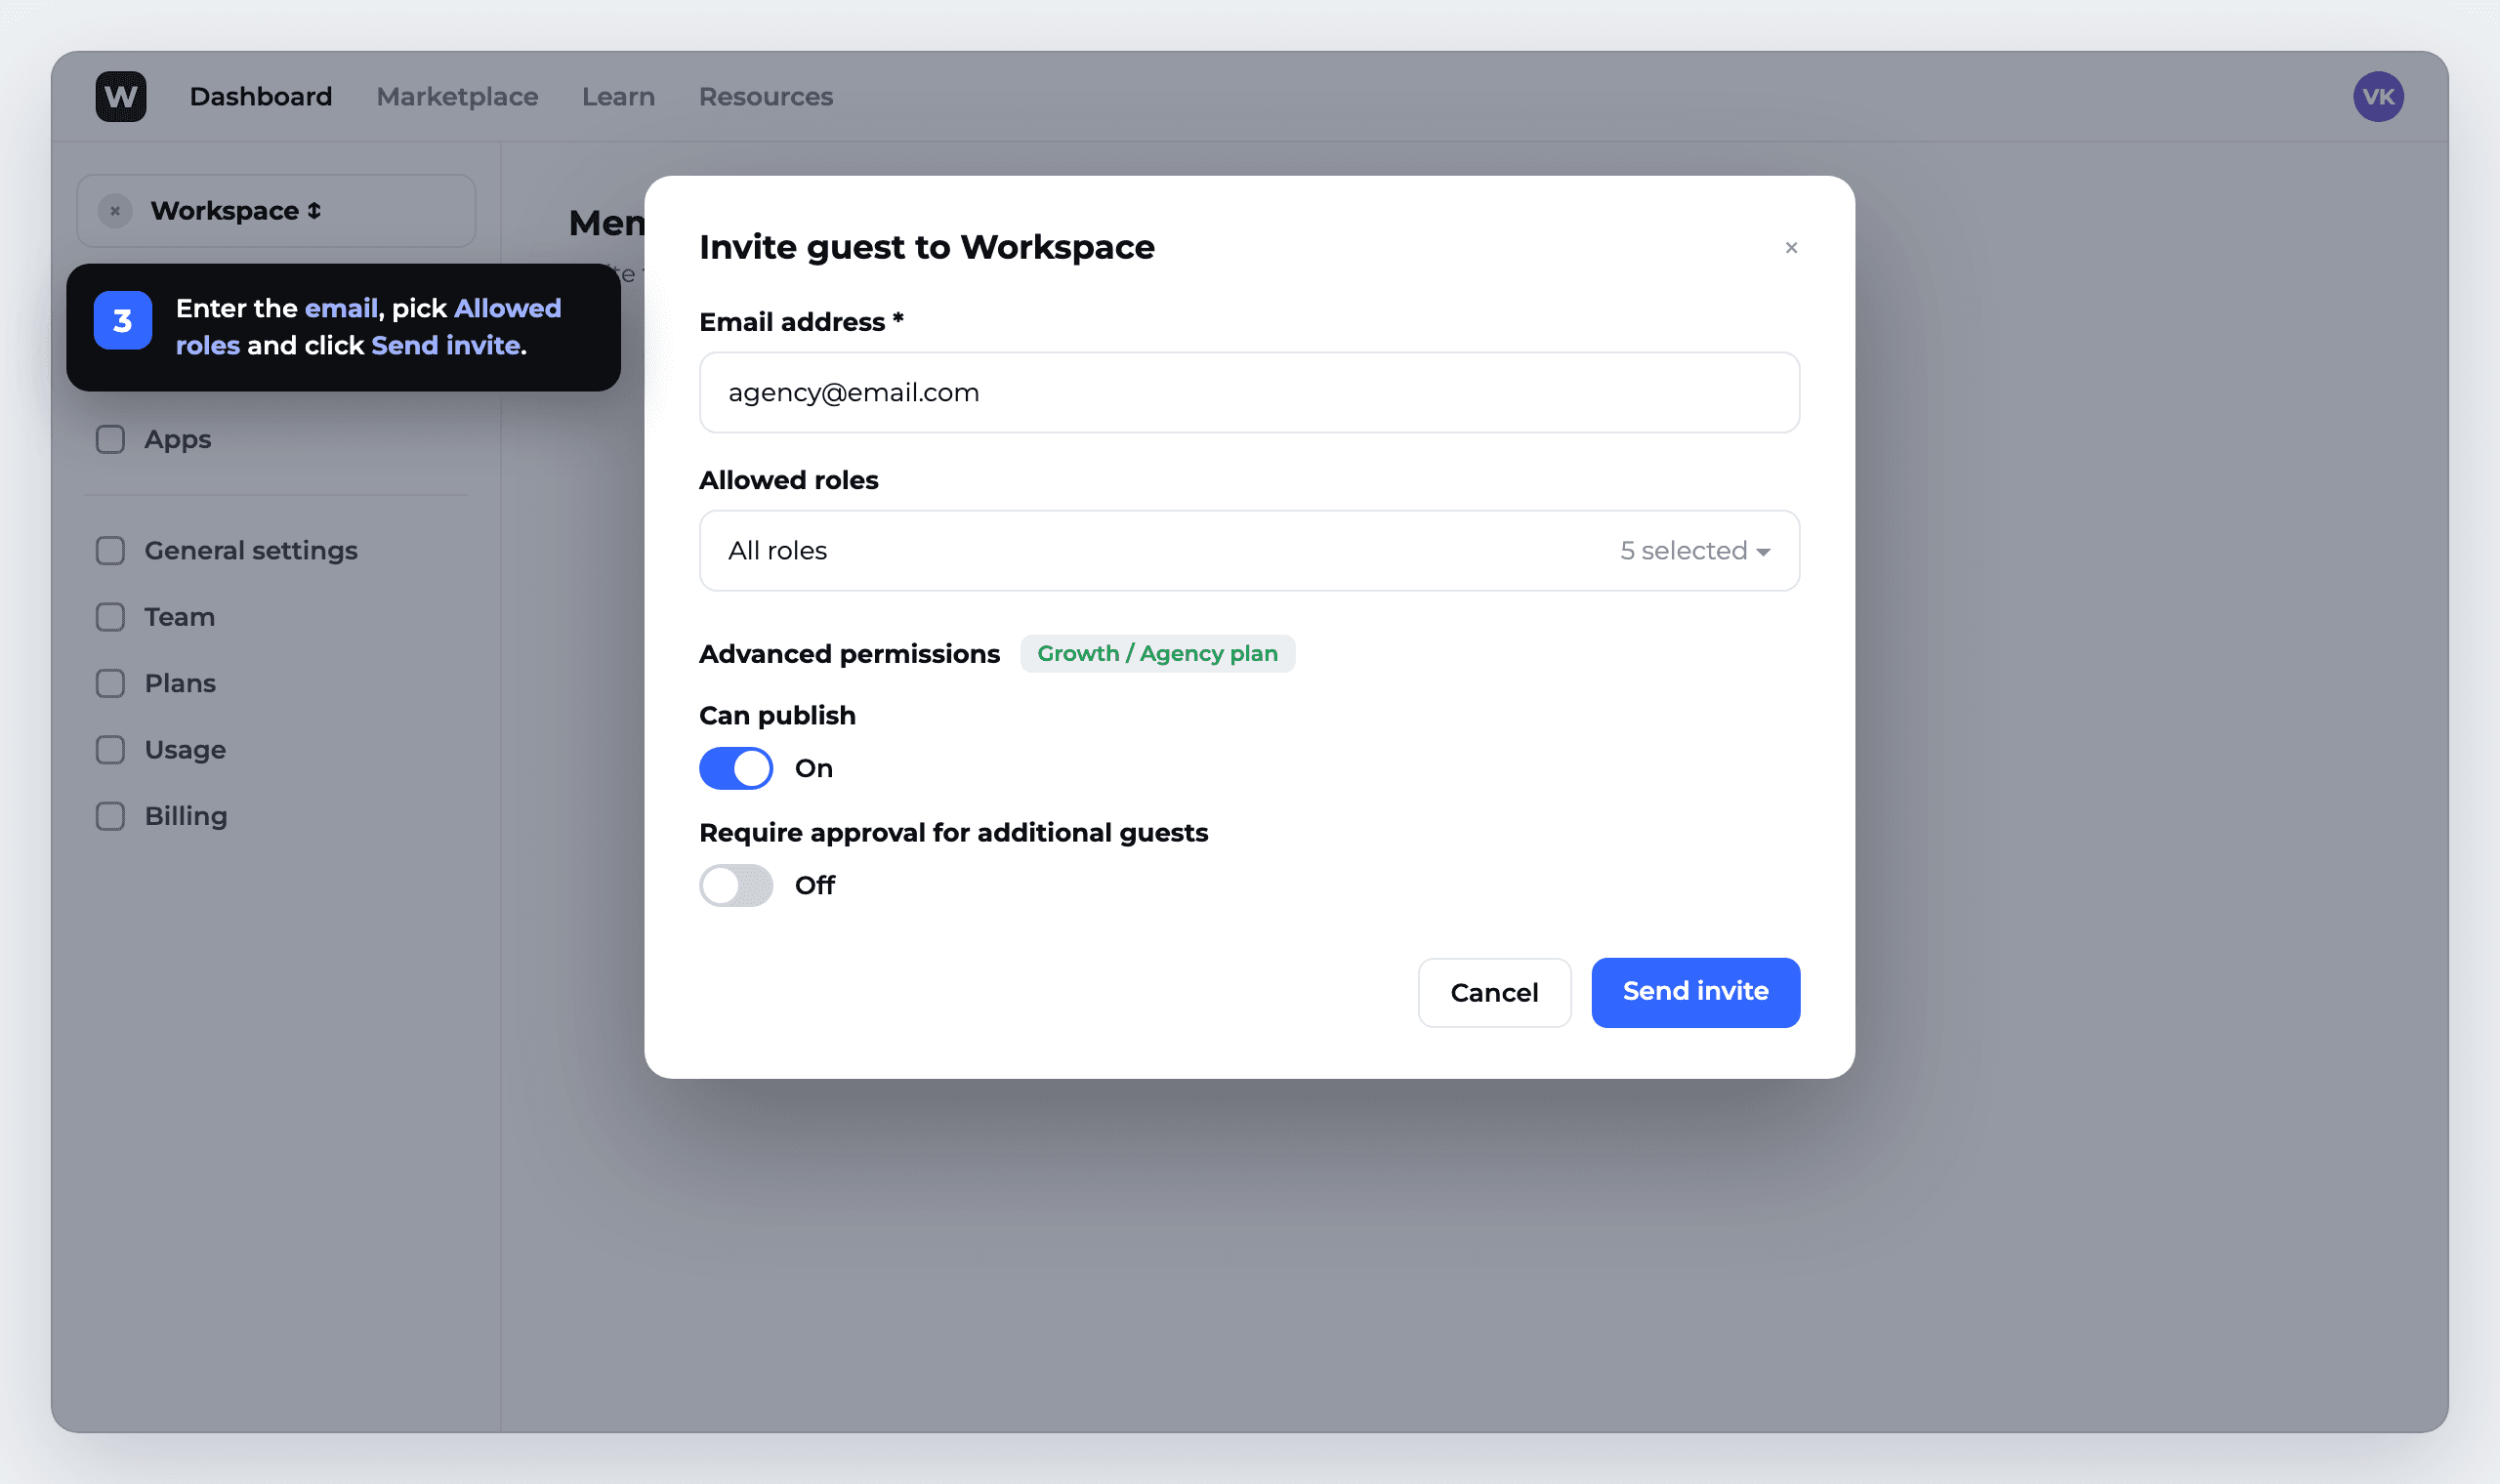
How to invite a Workspace member: 4 steps
This is the core way to give a team member access. The invite is tied to an email, so the person works under their own account — you always see who changed what.
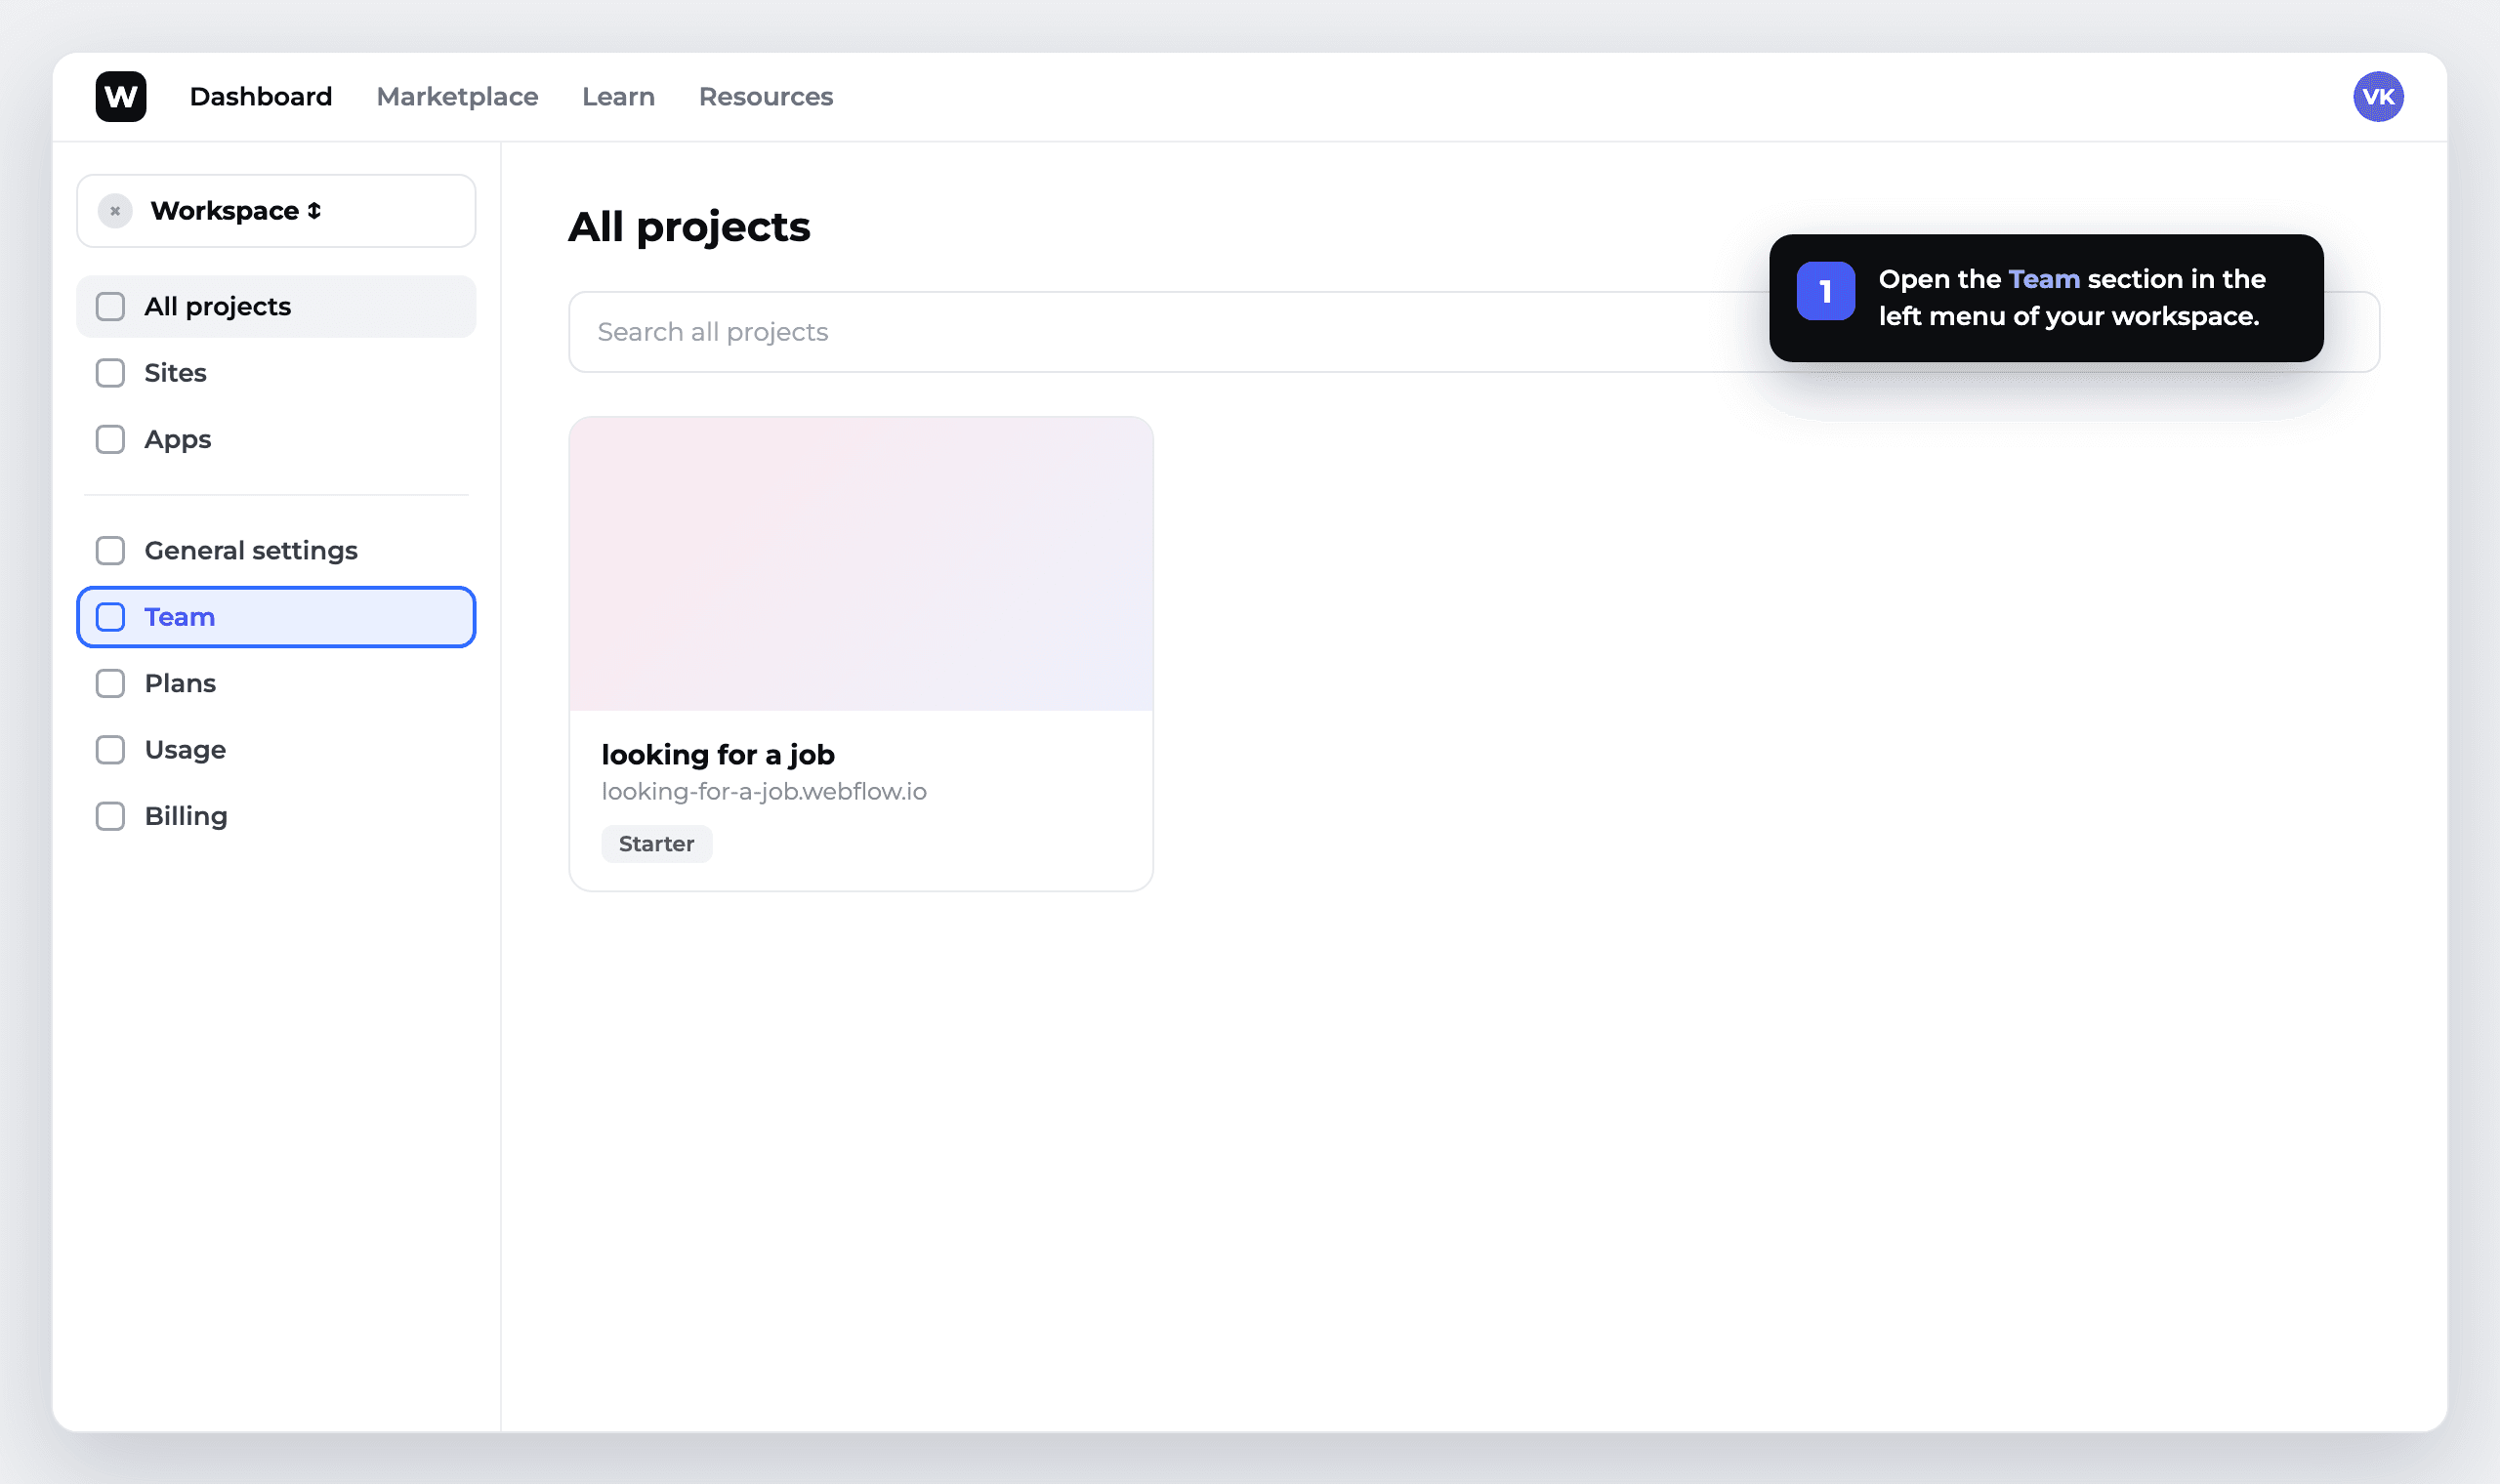
- Open Workspace settings → in the left menu select
Members. - Click Invite people and enter the
emailof the person you’re inviting. - Choose a role — Admin, Designer or Editor — based on the rights they need.
- Click Send invite. They receive an email, accept it, and access goes live.

Workspace roles: who can do what
- Admin — full control: design, settings, member management and billing. Give it only to trusted people.
- Designer (Can design) — full Designer access: layout, styles, CMS, interactions. No billing or team management.
- Editor (Can edit) — content editing through the Editor only: text, images, CMS items.
- Billing / Can publish — extra rights that newer plans configure separately (payments, publishing). Grant them selectively.
The rule is simple: the minimum level required. A contractor building pages usually needs Designer on one site, while a client updating news needs only Editor.
Access to a single site (for a freelancer or agency)
If you don’t want to open the whole Workspace, give guest access to a specific project. The site settings include an access-management section where you invite a person to that site only. The contractor then sees just your project and has no access to other sites or workspace billing.
- Open the site → Site settings.
- Find the site-access section (invite site guests/members).
- Add the email and choose what the person can do — design or edit only.
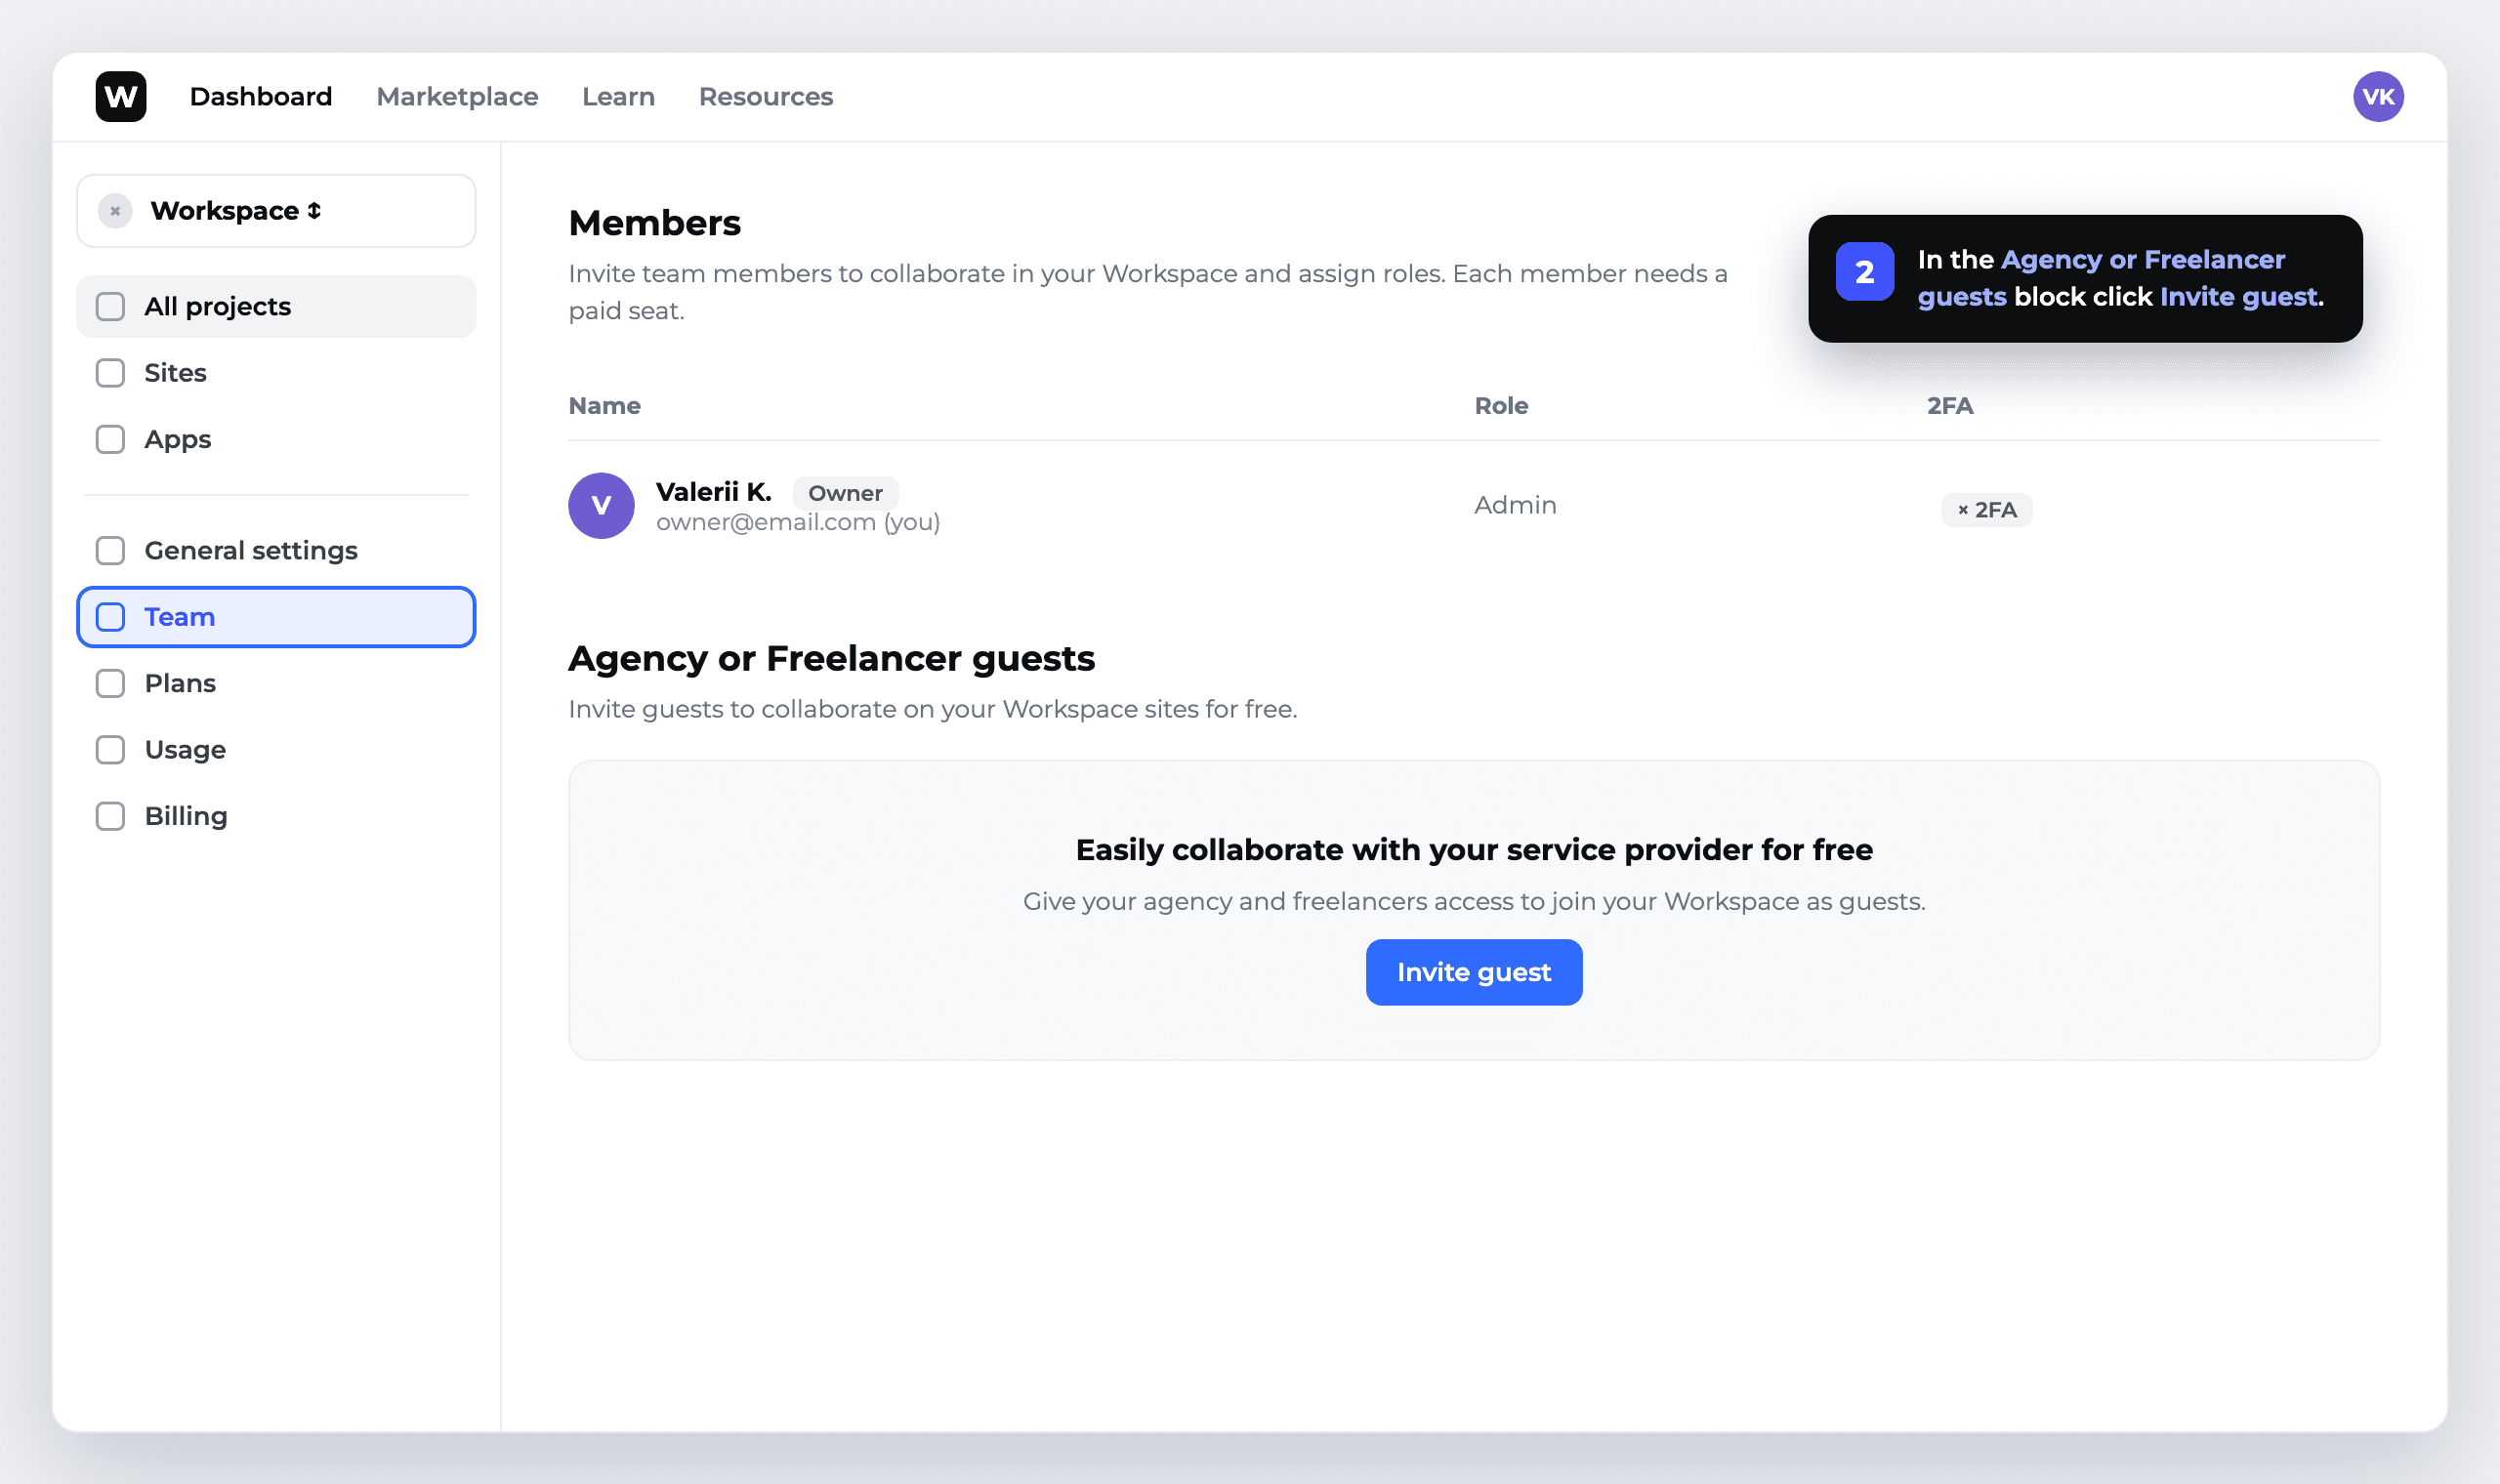
Webflow has a separate, free mechanism for contractors — Agency or Freelancer guests. Here’s how it looks in practice (the working email in the screenshots is hidden with a placeholder).
Editor access for a client
When a client wants to update text, prices or news themselves but must not touch the design, that’s the classic case for Editor. The client opens their site with ?edit appended to the URL (e.g. https://site.com?edit) or via an email invite, signs in, and edits content directly on the page. Every change is saved without any risk of breaking the layout.
Transferring a site to another account (changing ownership)
If you need to fully hand a project to a client or another Workspace rather than just share access, use Transfer site. It’s the best option when an agency finishes development and delivers the site to the client along with ownership and billing.
- Open Site settings → General (or the site-management section).
- Find Transfer site and specify the receiving Workspace or account.
- Confirm the transfer. Note: a paid site plan isn’t always carried over automatically — check who will pay for the site after the transfer.
How to revoke access without losing security
- Revoke in seconds. In
Membersor site settings, remove the person — access disappears instantly. - Two-factor authentication (2FA). Enable it on your own account and require it from contractors.
- Periodic audit. Review the member list each quarter and remove anyone no longer on the project.
- Least-privilege principle. Don’t grant Admin where Editor is enough.
FAQ
How do I quickly grant access to a Webflow site?
Open Workspace settings → Members → Invite people, enter an email and choose a role (Admin, Designer or Editor). The person accepts the email invite and access activates within a few minutes.
Can I share access to one site only, not the whole Workspace?
Yes. A specific site has guest access — the person sees and edits only that project, with no access to your other sites or workspace billing.
How do I give a client edit-only access to text?
Give the Editor role. The client edits text, images and CMS items on the live site but cannot change the design, structure or settings.
What is the difference between transferring a site and sharing access?
Sharing access keeps the site in your Workspace — you share rights. Transfer site fully moves the project to another account along with ownership. It’s used when an agency hands a finished site to a client.
Can an invited member see billing details?
No, unless you granted them billing rights. The Designer and Editor roles give no access to payments — billing management sits only with Admin or a separate billing permission.
How do I revoke access in Webflow?
In Members (or site settings) remove the person from the list — access disappears instantly. We recommend auditing members once a quarter.
Need help with development, support or SEO for a Webflow site? Spilno Agency sets up access, security and ongoing maintenance for European businesses end to end.

Read also
Google Tag Manager Workspaces: Why You Need Them and How to Use Them in 2026
A workspace in Google Tag Manager is a “draft” of a container — a place to safely edit…
How to Track Revenue, Transactions and Purchases in Google Analytics 4 from WordPress WooCommerce
Introduction WooCommerce store owners are often convinced that Google Analytics 4 already shows them revenue, transaction counts and…
How to Analyze Hourly Statistics in Google Analytics 4
Google Analytics 4 has no dedicated “hourly statistics” menu item, but you can get that exact breakdown in…